Requirements for replacement of natural gas molecular sieve desiccant
To replace molecular sieve desiccant clearly and correctly, you may have to follow the next steps:
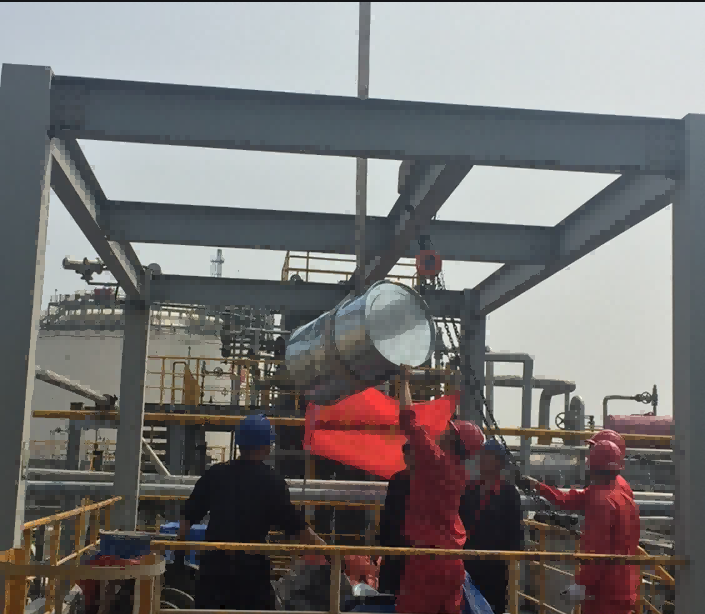
1: Firstly, open the bottom flange of the adsorption dryer equipment, remove the adsorbent from the adsorption tank, and then use a vacuum cleaner to clean up the dust and debris at the bottom.
2: Secondly, check if the wire mesh under the bottom sieve plate of the adsorption tank damaged. If it damaged. And replace it with a 40 mesh or 60 mesh stainless steel wire mesh, preferably using a double-layer stainless steel wire mesh.
3: Install the bottom flange and test the sealing condition for air leakage.
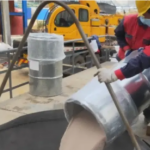
4: Open the top flange, pour the molecular sieve into the adsorption tank from the top flange. And load it to the highest point of the flange. If conditions permit, use a vibration motor to fix it at the top of the flange and vibrate for 10-20 minutes. If there is no vibration motor equipment, use a wooden stick to poke into the adsorption tank. It’s to ensure that the molecular sieve at the edge of the adsorption tank load in place. The molecular sieve is to the 9/10 position of the adsorption tank. And then about 100kg of inert alumina ceramic balls 6-10mm are to achieve compaction.
5: It is best to replace the natural gas desiccant in one go, as it may absorb moisture from the air and affect the drying effect.
6: After the filling complete, use dry compressed air to blow back. And remove the internal dust from the discharge outlet, repeating 2-3 times, so that the dryer equipment can reach full state.